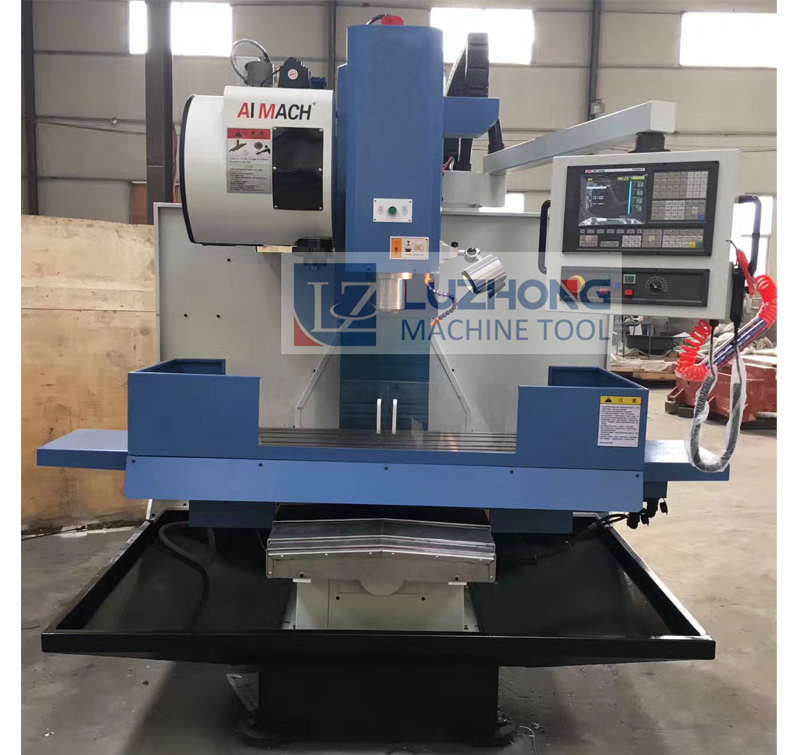
We are the CNC lathe machine China manufacturer. Here the following we will continue to share for you the Summary of precision testing knowledge of each part of the machine tool.
3. What is point method?
Answer: when using a flat ruler to check the guide rail straightness error, the guide rail appearance is evenly coated with a layer of very thin red lead oil, the flat ruler is covered in the guide rail appearance, with the appropriate pressure to make short interval reciprocating movement for research point, and then take off the flat ruler, investigate the rail appearance of the research point distribution and research point the most sparse density. The point is evenly distributed over the whole length of the guide, which indicates that the straightness error of the guide has reached the corresponding precision requirement of the ruler. This method is called point method.
The flat ruler used in the research point method is a standard flat ruler, and its precision grade is selected according to the precision requirements of the guide rail inspected, usually no less than grade 6. The length is not shorter than the length of the guide rail under inspection (in the case of low precision requirement, the length of the flat ruler is 1/4 shorter than the guide rail).

4. Which types of guide rail straightness error inspection is applicable to the research point method?
Answer: choose scrape grind method to repair the straightness error of guide rail, choose grind point method mostly. Point method is often used for the inspection of shorter guide rail, because the flat ruler beyond 2000mm is easy to deformation, difficult to make, and affect the accuracy of measurement. Blow grind short guide rail, rail straightness errors usually by the ruler to ensure accuracy, together with the research point of density per unit area is must demand, and can be based on the precision of the machine tool needs and guide in the machine of the nature and importance of location, separation rule for every 25 mm x 25 mm research within not less than 10 to 20 points (that is, each party ideas within the number).
When using point method to view the guide rail straightness error, because it can not measure the error value of the guide rail straightness, so when there is a level, usually do not need to point method for final inspection. However, it should be pointed out that in the absence of measuring instruments (level, optical flatness meter, etc.), the selection of three flat ruler produced by mutual research method, can effectively meet the normal machine tool short guide rail straightness error inspection requirements.
That's all for the sharing, thanks for your reading, and we also supply CNC vertical Lathe for sale, if you have any demand for our products, just feel free to contact us.
Copyright © Shandong Luzhong Machine Tool Co.,Ltd. All Rights Reserved