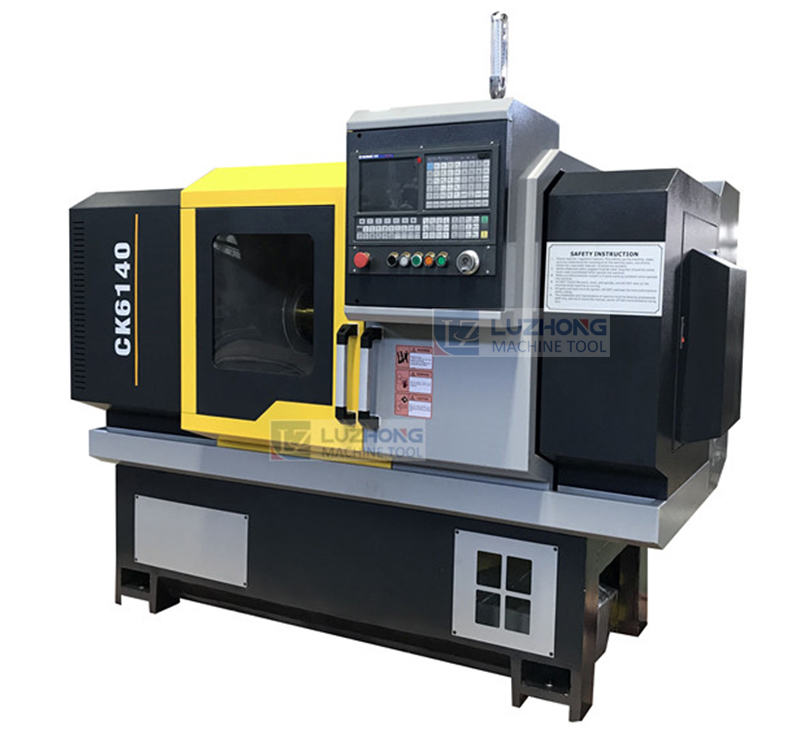
The China High Spcnc lathe machine Manufucturer would like to share the following two points for you.
What are the characteristics of error in measuring the straightness of the guide rail with optical instruments?
Answer: the principle of error in measuring the straightness of a guide using collimators and active collimators (optical flatness) is based on the fact that the beam of light moves in a straight line. The advantages of optical instrument measurement are :(1) in the measurement process, the accuracy of the instrument is less affected by external conditions (temperature, vibration, etc.), so the measurement accuracy is higher; (2) it can not only measure the straightness error of the guide rail in the straight plane (not equal to the horizontal level), but also replace the straightness error of the guide rail in the horizontal plane measured by steel wire and microscope. Therefore, in the manufacture and repair of machine tools, has been widely used. However, as for the long guide rail measuring more than 10m, because the journey of the beam is long and the light energy is lost greatly, the image is not clear enough and cannot be directly measured. Instead, it is necessary to measure the length in sections.

How to view single rail appearance distortion error?
Answer: about the appearance of each guide rail shape, in addition to in the horizontal plane and the straight surface there are straightness requirements, in order to ensure that the guide rail and moving parts cooperate with outstanding, progressive touch rate, but also need to control the guide rail appearance distortion error, this demand for large guide rail is particularly important. In scraping, in order to measure the parallel between the guide rail error, as a benchmark measurement with the guide rail, but also to avoid severe distortion.
Single guide rail appearance distortion error inspection method: V type guide rail with V type level pad iron, flat guide rail pad iron, from the arbitrary end of the guide rail, moving the level pad iron, every 200 ~ 5001Am reading, the maximum algebraic difference of reading level, is the guide rail distortion error. The error requirements in the precision specification of the machine tool as a rule, the first rule in the scraping and grinding process.
That's all for the sharing, thanks for your reading, and we also supply High Quality CNC Pipe Threading Lathe for sale, if you have any demand for our products, just feel free to contact us.
Copyright © Shandong Luzhong Machine Tool Co.,Ltd. All Rights Reserved