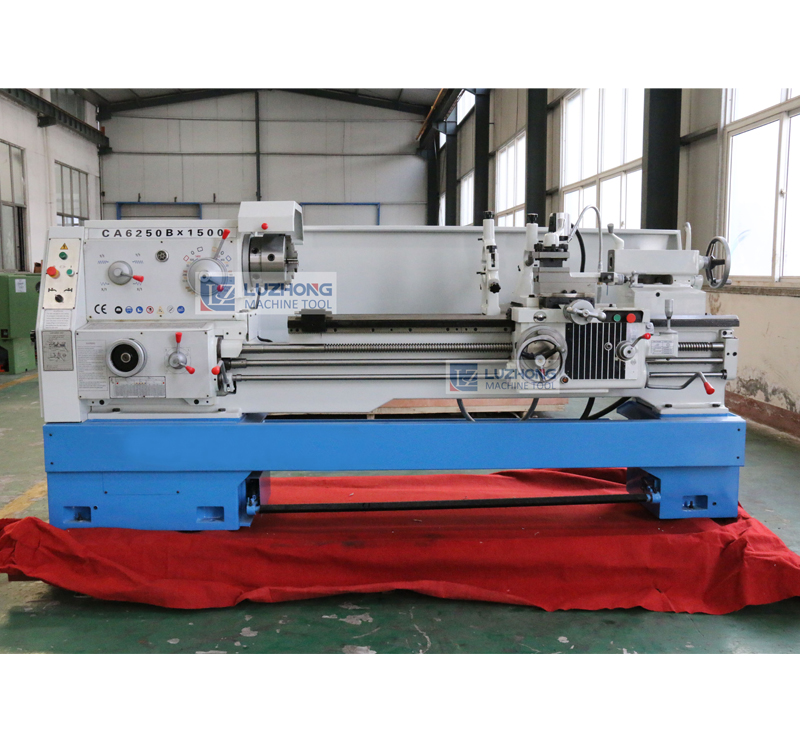
How to improve the precision of CNC machine parts? Shared by CNC lathe machine China manufacturer.
1. Which plane straightness error is applicable to measuring the guide rail with the comparison method of flat ruler pull table?
A: the comparison method of flat ruler pull table is usually used to check the straightness error of short guide rail in straight plane and horizontal plane. In order to improve the stability of the measurement reading, the length of the pad iron moving on the inspected guide rail shall not exceed 200mm, and the touch surface of the pad iron and the guide rail shall be scraped with the inspected guide rail to make the touch excellent, otherwise the accuracy of the measurement will be affected.
(1) inspection method for straightness errors in the straight plane place the flat ruler working surface horizontally and place it around the guide rail to be inspected, the closer the better, so as to reduce the influence of guide rail distortion on measurement accuracy. Put one on the guide rail and guide with a good mat iron, will dial gauge fixed on the pad iron, make the dial gauge measuring head has two top care feet appearance, adjust the flat feet, make the reading of the dial gauge to care about feet two head looks flat, then move the pad iron, every 200 mm read numerical a dial indicator, dial gauge readings each one of the biggest difference is the guide rail straightness error in length. In measurement, in order to avoid the influence of scratch point, make the reading accurate, it is best to pad a gauge block under the gauge head of the micrometer.
(2) the way to check the straightness error in the horizontal plane is shown in figure 3-4. Put the working side of the flat ruler around the guide rail to be inspected, adjust the flat ruler, so that the reading on both sides of the outer appearance of the dry meter is equal, and the measurement method and accounting error method are the same as above.
2. Which guide rail's straightness error inspection is suitable for the pad plug method?
A: the pad plug method is suitable for viewing the plane guide after grinding and surface roughness is lower
The rail, on the plane guide to be inspected, put a standard flat ruler, at the two ends of the flat ruler are 2/9•L interval, with two equal height pad support under the flat ruler, the usage block and the feeler to check the space between the flat ruler working surface and the measured guide plane. If the straightness of the horizontal lathe guide rail service is (1000∶0.02) mm, that is, equal to the thickness of equal height pad plus 0.02mm gauge block or feeler, in the guide rail interval of 1000mm in any place can not be plugged in is qualified. Measurement of fine machine guide, should choose the high accuracy of the measuring block, so as to be more accurate measurement of the guide line error value.
This method can also use micrometer instead of feeler, but to increase the thickness of the block, so that the micrometer can enter the measurement.

3. What are the characteristics of the straightness error of the guide rail? What questions should be paid attention to when operating?
Answer: use the steel wire after tensioning as the ambition of the straight line, direct measurement of each section of the guide line constitute the plane straightness error line value. Like using a flat ruler table comparison method, is a line value measurement method.
This method can only check the guide rail in the horizontal line error. Put a 500mm length of iron pad on the bed guide rail and install a reading microscope with scale. The lens of the microscope should be aligned with the steel wire and placed in a straight position if necessary. At both ends of the guide rail, each fixed a small pulley, with a diameter of less than 0.3mm steel wire, one end fixed on the small pulley, the other end with a heavy hammer hanging. The weight of the hammer should be 30% ~ 80% of the breaking force. Then adjust both ends of the wire so that when the microscope is at both ends of the guideway, the wire and the cut line on the lens coincide. Write down the reading on the hand wheel of the moving dividing board on the microscope.
Move the pad iron and investigate the microscope every 500mm to see if the steel wire coincides with the marking line. If not, adjust the reading wheel on the microscope to make it coincide, and take down the reading. Measure the whole length of the guide rail and record the readings in sequence. Arrange the readings on the graph paper and plot the motion of the pad. The maximum coordinate difference between the motion curve on each 1000mm length and the connecting line at both ends is the straightness error on each 1000mm length. If the curve that forms is in convex or in concave line, most convex or most concave point occupies the coordinate difference value of join to both ends namely the straightness error on guide rail full-length. If what form is wavy fold line (be apart in horizontal coordinate axis both sides namely have a bit), choose to contain line method, take the coordinate difference value between the two parallel lines with the smallest interval, it is the straightness error on guide rail full-length.
That's all for the sharing, thanks for your reading, and we also supply CNC vertical Lathe machine for sale, if you have any demand for our products, just feel free to contact us.
Copyright © Shandong Luzhong Machine Tool Co.,Ltd. All Rights Reserved